Table of Contents
Create An Account
To use BugSquad, the first thing you will need is an Account.
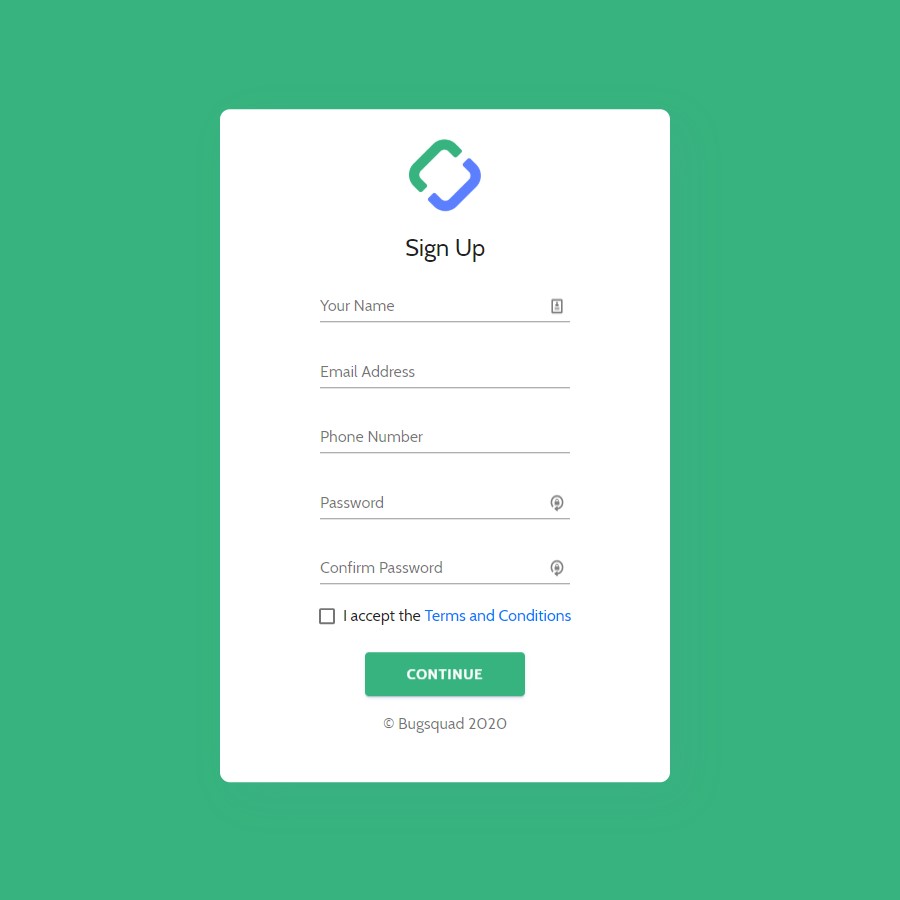
To create a BugSquad Account, go to admin.bugsquad.com/signup.
Enter your contact information and create a password. If you accept the Terms and Conditions, click the check box and hit "Continue."
Next, you will be asked to input your credit card information.
Once you confirm your Account creation, your 30 day trial period begins and you can start configuring your Account.
Progress Bar
When you first create your Account, you will be greeted by a welcome message and steps to configure your Account.
A Progress Bar will display at the top of the page with instructions on how to get your Account up and running.
It will track your progress as you configure your Account so that if you need to stop at any time, you can jump back in and pick up where you left off.
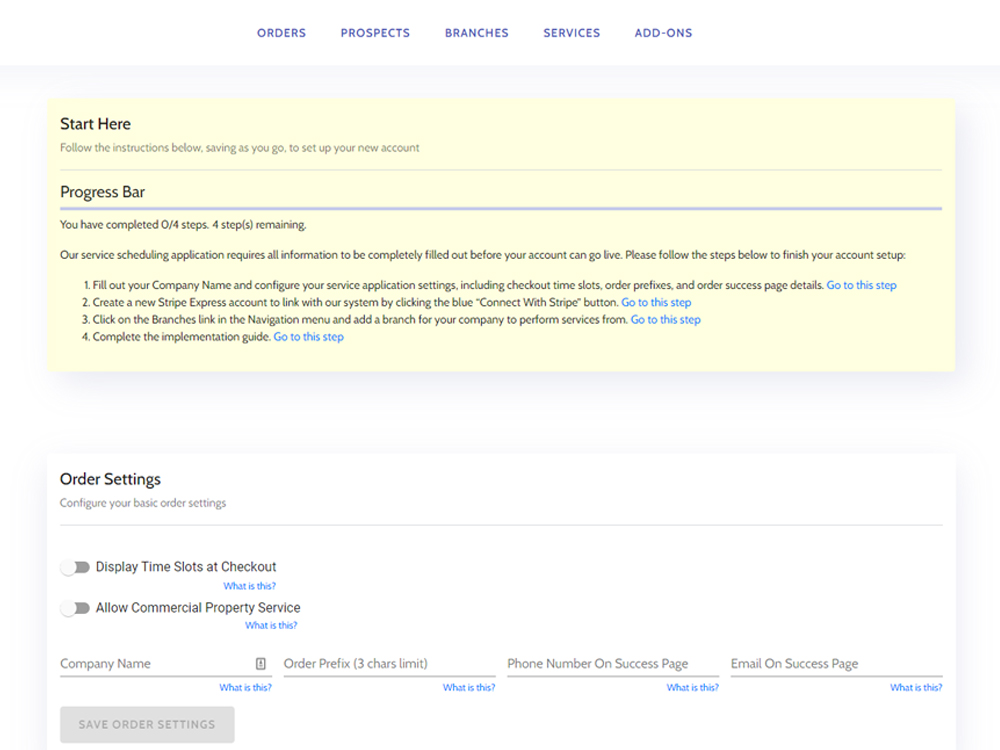
Along with the steps detailed on this page, you will see setup steps for:
- Branches. See how to set up a Branch by clicking here.
- Stripe. See how to set up a Stripe Express account by clicking here.
Order Settings
Begin your Account set up by configuring your basic order settings.
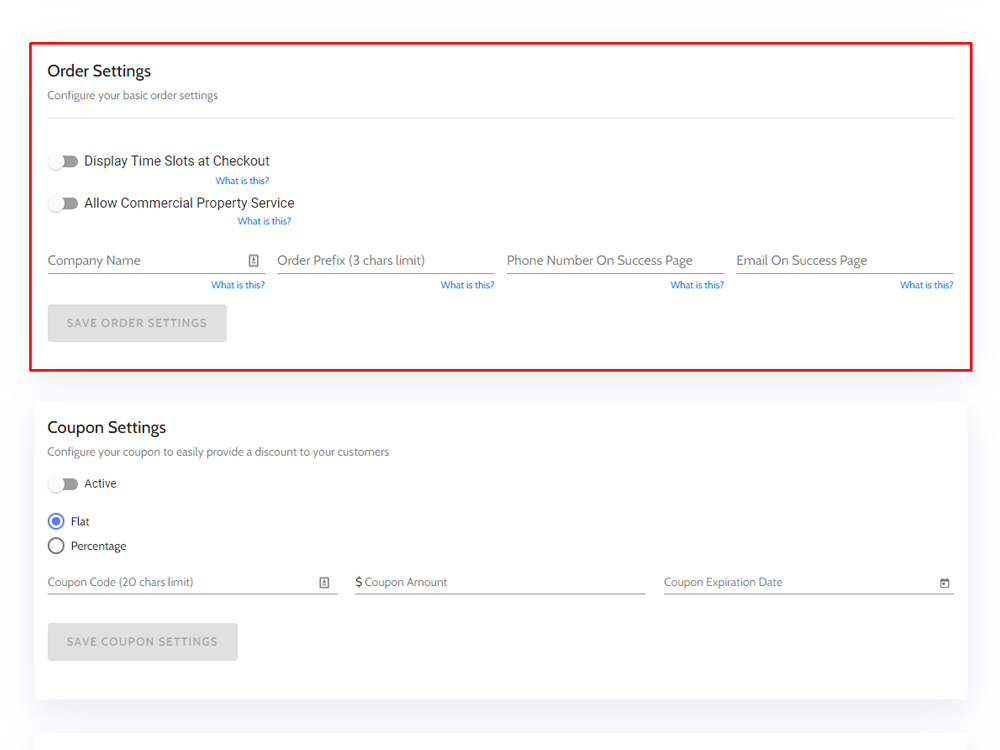
Here, you can:
- Display time slots at checkout
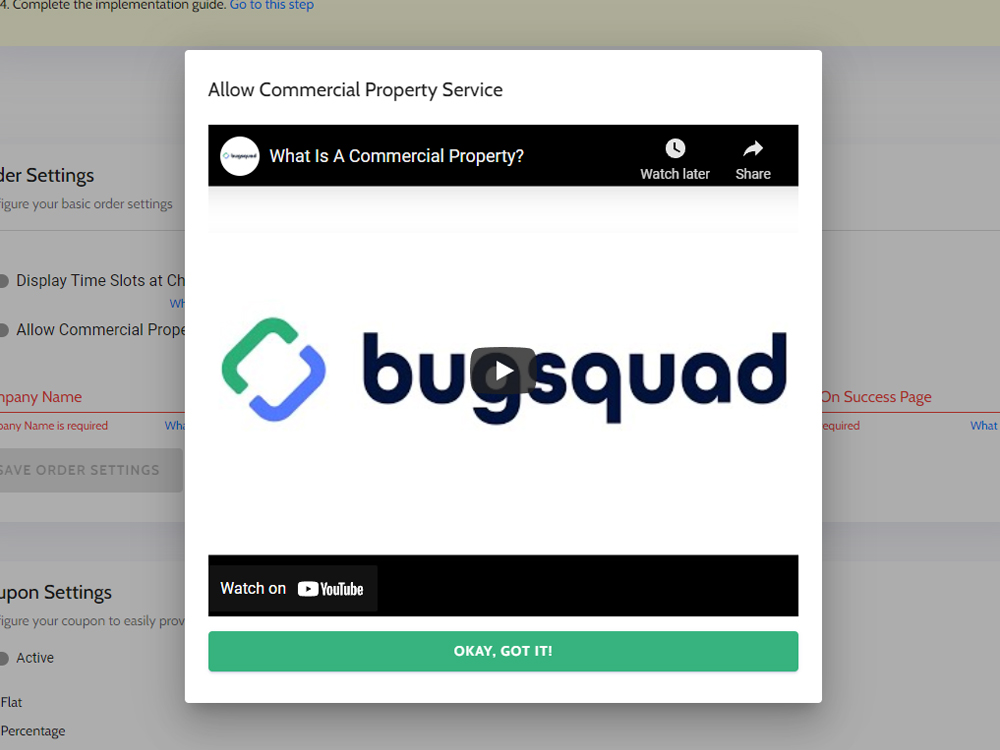
- Allow commercial property service
- Setup your company name
- Set your order prefix
- Input the company phone number shown on Success Page
- Input the company email address shown on Success Page
When your customer goes through the Order process, they will be asked to schedule their service appointment upon checkout.
Appointment booking defaults to displaying time slots. This allows your customer to not only pick the days that they are available, but specific time windows that is best for them.
For better operational flexibility, however, you can choose to disable to the time slots so that only the date options are shown.
Choose to display time slots at checkout with the toggle switch.
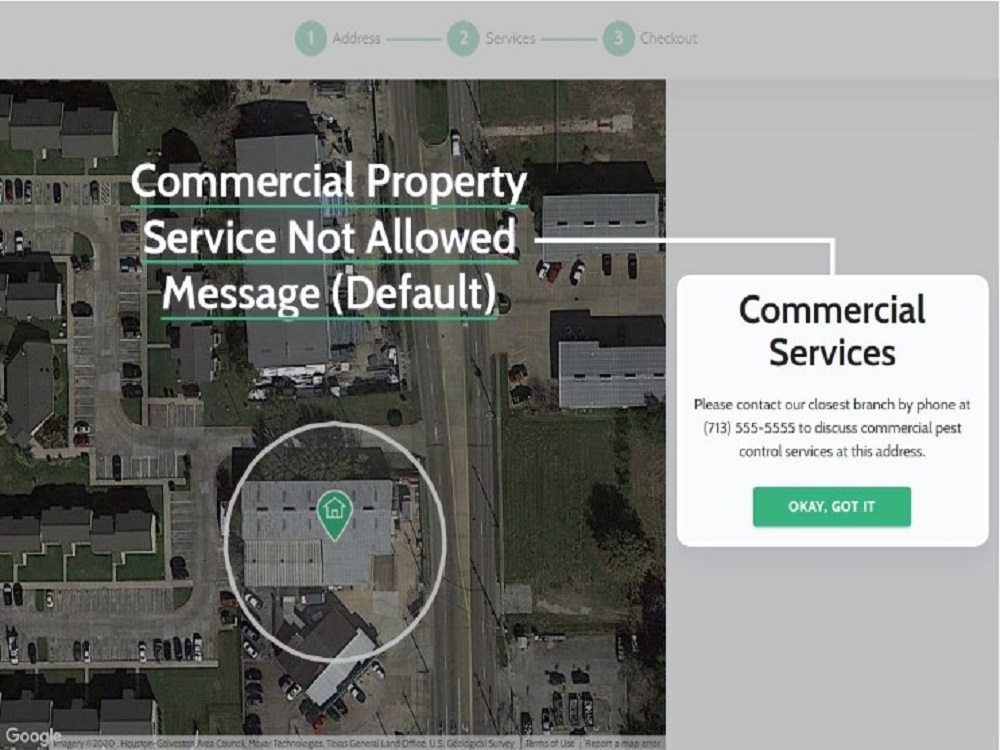
You also have the option to allow commercial properties to be serviced within the BugSquad app.
If you choose to allow the BugSquad app to analyze commercial properties, the customer will be brought to the normal property description and summary page. If you do not allow, the customer will see a standardized message to call the nearest branch to discuss service pricing for the commercial property.
Next, input your company name, phone number, email address, and order prefix. The order prefix is a three character prefix that can be seen at the beginning of every order number to help you and your customers keep track of each order.
If at any time you are unsure how the information provided in each field is represented to you or your customer, click the "What is this?" for each field. A video will display and explain to help you get a better idea.
Coupon Settings
Here you will be able to configure settings for any coupon codes you may use for your business. First toggle the switch to make the coupon functionality Active. Below this, you will see options for Flat and Percentage.
Flat enables you to use a simple flat discount where Percentage allows you to utilize a percent off the order.
Next choose what the coupon code will be, something like PROMO10 or NEWCUST. Of course, you can use whatever coupon codes you may regularly use in your business operations. Finally, choose the amount and an expiration date for the code. An expiration date is required, but there is no time limit. If you want a code to run indefinitely, set the expiration date far into the future.

Custom Appearance Settings
Your next step is to customize the appearance of your application.
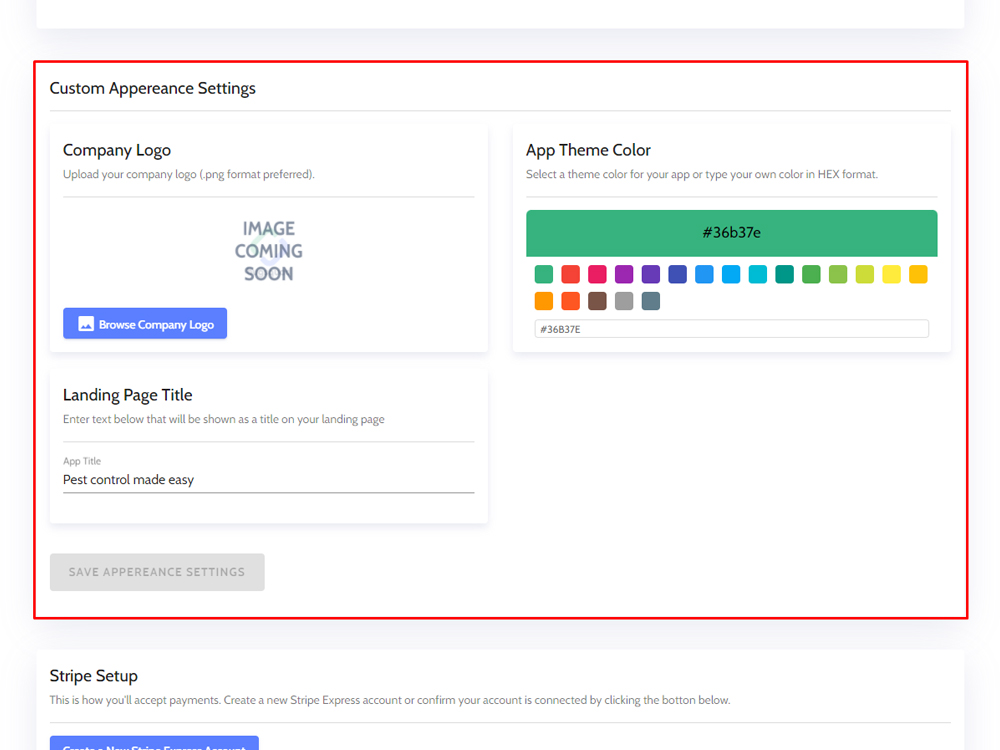
You can:
- Upload a company logo
- Select a theme color for your app
- Change the landing page title
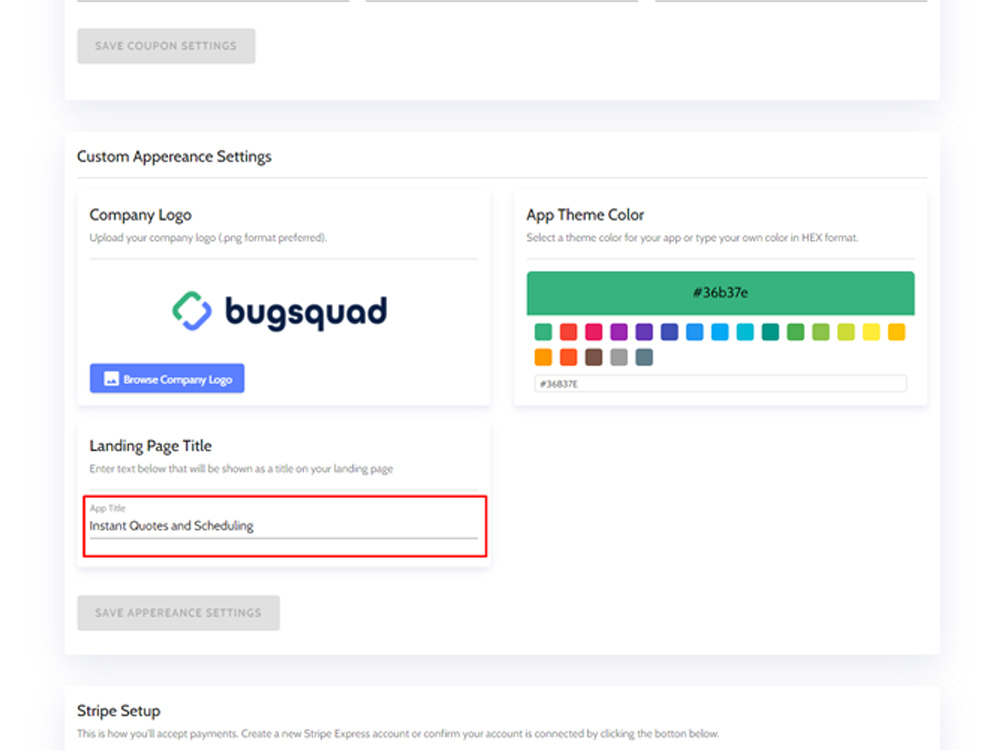
Your company logo will appear in the confirmation screen and email after a customer has submitted an order.
The theme color customization can change the BugSquad application color as to match your company brand. You can select any of the colors provided in the console or type a specific HEX color.
The landing page title is what is shown on the front of the BugSquad tool that will be embedded on your site. Change the title to your slogan or to something that better fits your branding.
Stripe Setup
Start by clicking the "Connect With Stripe" button. You will be taken to a separate page where you can begin the Stripe setup process. You will need to create a new Stripe Express account that will link with BugSquad.
Follow the onscreen instructions provided by Stripe to finish your Stripe account setup. If you need help with your company's particular account set up, please reach out to us at info@bugsquad.com.
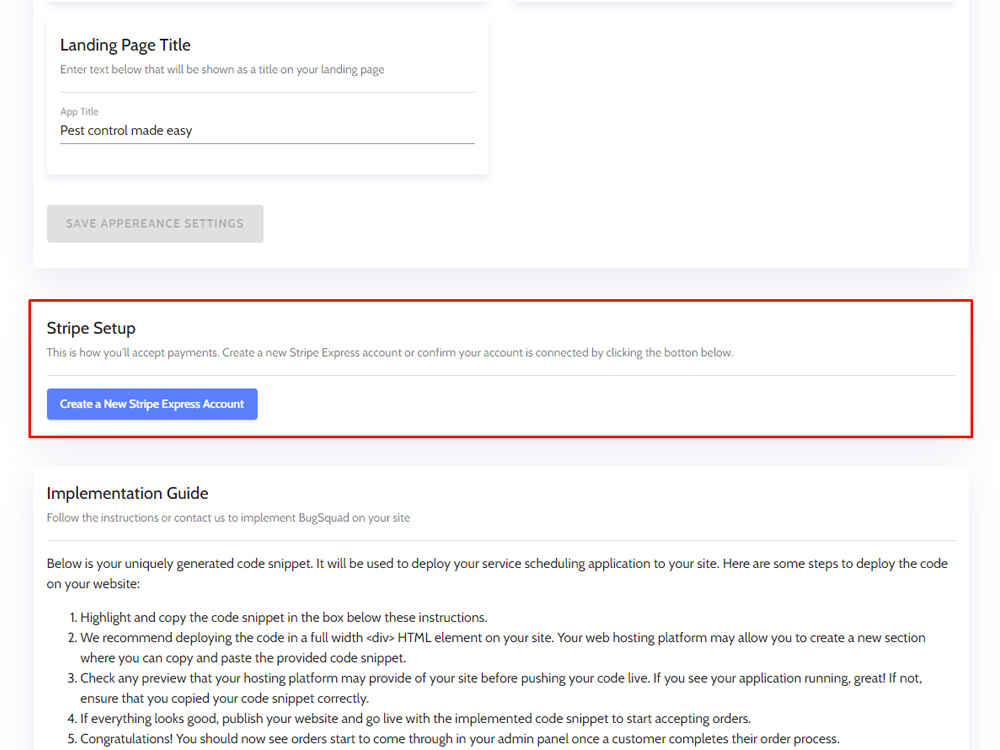
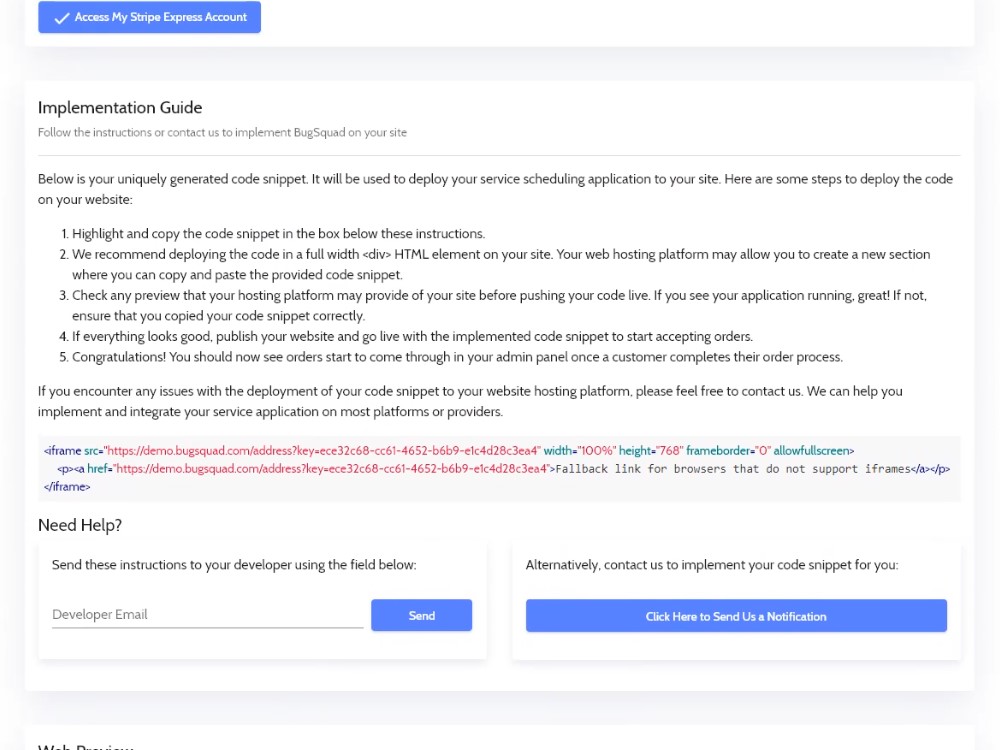
Implementation Guide
This is where you will see step-by-step instructions on implementing the BugSquad App on your website and where you will get your code snippet.
This snippet is what will be embedded onto your site for customers to book your pest control service. The code snippet is unique to you and can only be used by the company account you created.
To implement your code snippet:
- Highlight and copy your unique code snippet. Be sure to highlight the entire code, from <frame to="" frame="">. You can also click the blue "Copy Code to Clipboard" to ensure that the entire code is copied for you.
- Paste the code to your site. We recommend pasting the code in a full width <div> HTML element on your site. Depending on your web hosting platform, you may be able to create a new section where you can copy and paste the code rather than use a <div> element.</div></div>
- Preview the page that the code has been embedded before pushing the code live. If it is running properly, then great job! If not, ensure the code snippet was copied and pasted correctly.
- Once everything looks good, publish your website to go live with the implemented code. You will now be able to start accepting orders.
- Now sit back and let BugSquad do the rest. You should start to see new orders come through your Admin panel once a customer completes their order process through the embedded app.
We designed the BugSquad app to be implemented easily into any web hosting platform. For further help, you can check out our guides for implementing the BugSquad app for some of the most common web hosting platforms:
- Shopify. See how to embed the BugSquad app by clicking here.
- Wix. See how to embed the BugSquad app by clicking here.
- Squarespace. See how to embed the BugSquad app by clicking here.
- Wordpress. See how to embed the BugSquad app by clicking here.
If you need help, you can send the implementation instructions to your web developer (if you have one) easily by entering their email address and clicking "Send."
Or you can reach out to use for help by simply clicking the "Click Here to Send Us a Notification" button. We're happy to help.
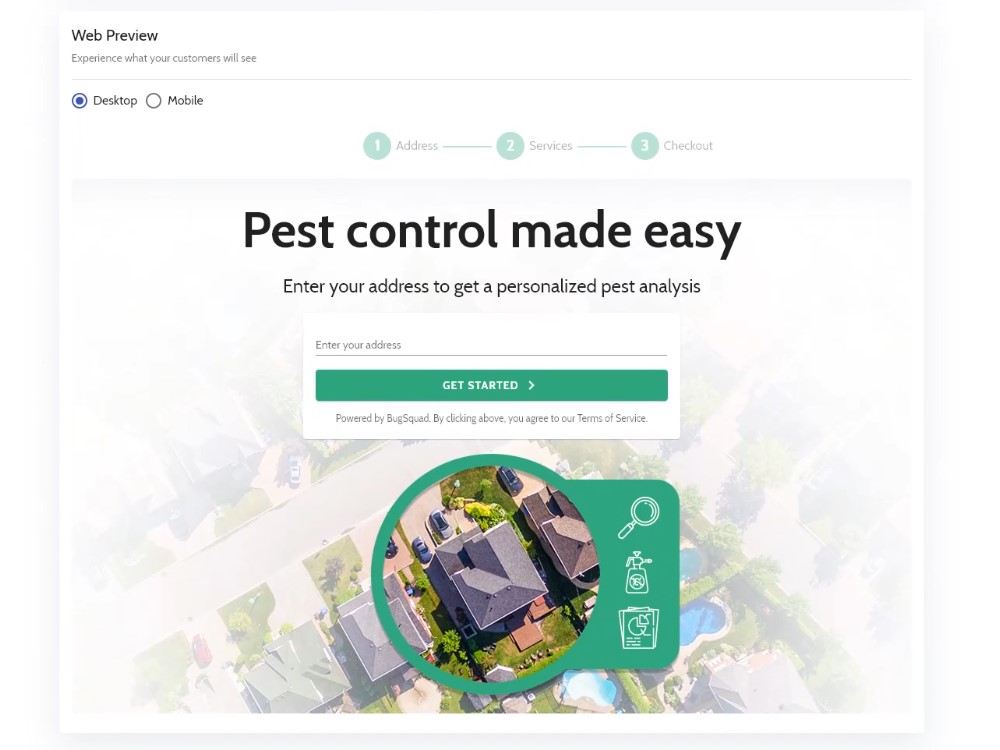
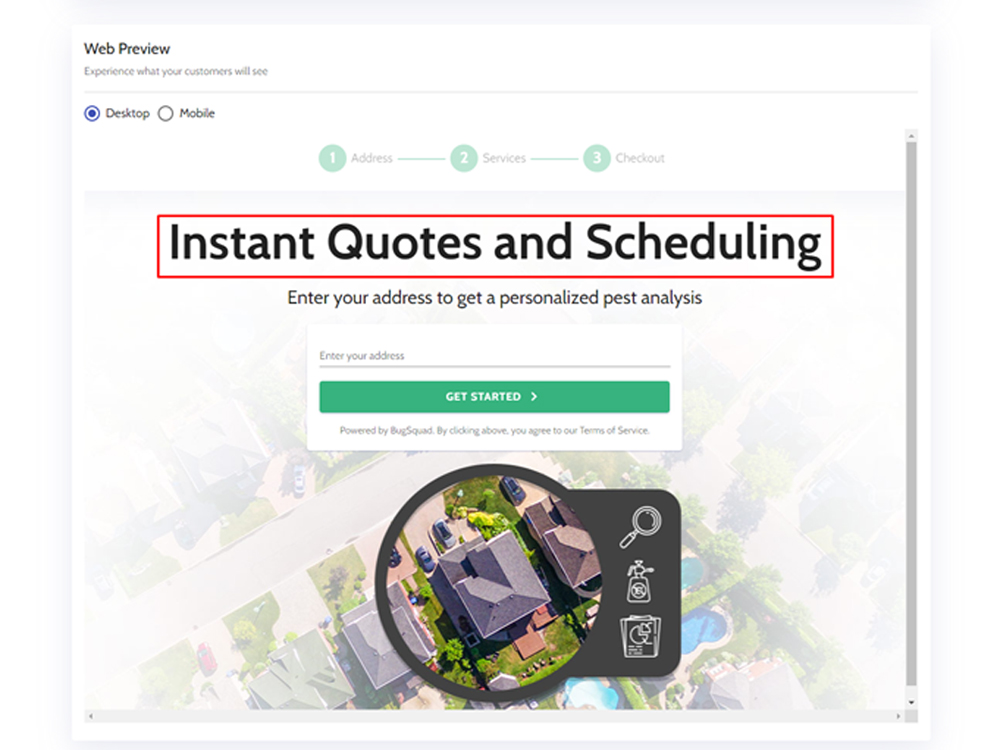
Web Preview
Here, you will see the BugSquad App.
This is a Live Web Preview; meaning this is exactly what your customers will see when they visit your site and see the implemented BugSquad App. You can view how the App will look in Desktop or Mobile mode.
You can test out the App yourself at any time. It is recommend that you finish your Account setup so that you will be able to experience exactly what your customer will experience.
Just like a customer, when you input your information here, it can then be seen in the Prospects or Orders tabs in your Admin panel.
This is a great tool to have and is always available in your Account Settings so that you can test out the App at any time. This will help you see what your customer sees, so if an image or piece of content does not come across correctly, you will know and can fix it right away.